

Putting technique is often described as the “game within the game.” It’s where matches are won, championships are decided, and frustrations are born. You can drive the ball 300 yards and hit flawless iron shots, but if you can’t putt well, your score will suffer. For many golfers—amateurs and professionals alike—putting is the most mentally and technically challenging part of golf.
In this complete guide, we’ll break down every aspect of the putting technique — from grip and stance to green reading, tempo, and mental focus. By the end, you’ll have a deep understanding of how to develop a consistent, confident, and repeatable putting stroke that lowers your scores and boosts your confidence on the greens
1. The Importance of Putting in Golf
It’s estimated that putting accounts for nearly 40% of all strokes in a typical round of golf. That means improving your putting can have a more immediate impact on your handicap than any other area of your game.
Good putting is not about luck; it’s about technique, touch, and trust. Whether you’re facing a two-foot tap-in or a forty-foot lag putt, the mechanics remain consistent — and mastering those mechanics is what separates average golfers from great ones.
2. The Foundation: Grip, Stance, and Setup
Before you even strike the ball, your setup determines the success of your putt. The goal is to create a repeatable, stable, and comfortable foundation that promotes consistent roll and direction.
a. The Grip
Arm Lock Grip:
An arm lock grip is a secure and controlling hold used in martial arts and grappling sports to immobilize an opponent’s arm. It typically involves trapping the arm at the elbow or shoulder joint using leverage and body positioning, often by wrapping one’s arms or legs around the opponent’s limb. This grip is designed to restrict movement, apply pressure, and potentially force a submission by targeting the joint’s range of motion. Arm locks are commonly seen in Brazilian Jiu-Jitsu, judo, and MMA.
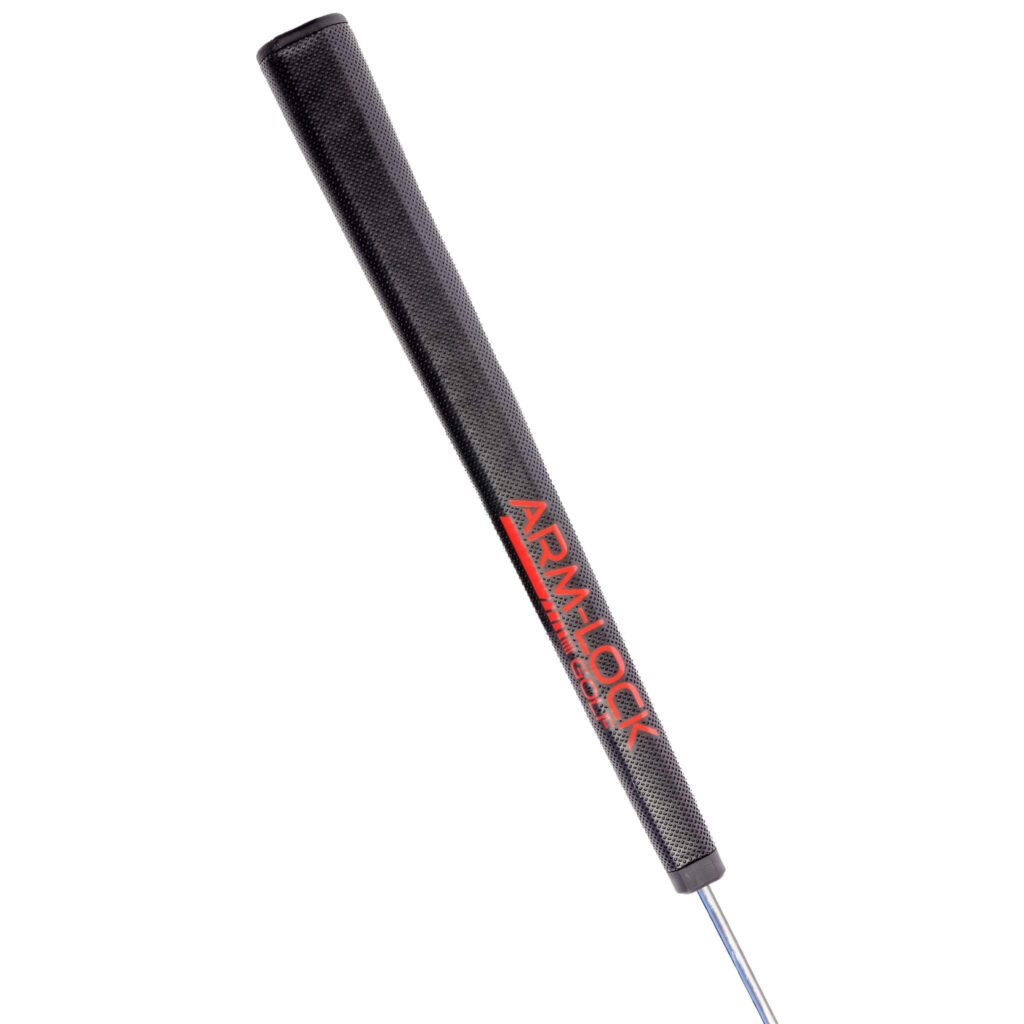
The putter shaft rests along the lead forearm, locking it into place. This is highly stable and reduces wrist hinge, ideal for golfers seeking mechanical consistency.
Key Grip Principles:
Keep grip pressure light but firm — enough to control the club but not tense.
Hands should work together as one unit.
Maintain square alignment between your palms and the putter face.
b. The Stance and Posture
Your stance affects balance, alignment, and your ability to make a pendulum-like motion.
Correct Stance Checklist:
Feet: Shoulder-width apart or slightly narrower for comfort.
Ball Position: Slightly forward of center (just inside your lead foot) to promote upward contact.
Eyes: Directly over or slightly inside the target line. A simple test — drop a ball from your eye line; it should land directly on or just inside the ball.
Shoulders & Hips: Parallel to the target line.
Knees: Slightly flexed for balance.
Arms: Hang naturally with minimal tension.
Tip: Your setup should feel natural and relaxed. Avoid excessive bending or reaching; posture should support smooth, rhythmic motion.
3. Alignment and Aim
Alignment refers to ensuring that actions, strategies, or systems are consistent with a defined purpose, values, or goals. It creates harmony between intention and execution. Aim is the specific objective or target one strives to achieve. It provides direction and focus, guiding decisions and efforts toward meaningful outcomes.
Together, alignment and aim help individuals and organizations stay purposeful, coordinated, and effective in reaching their goals.

Even a perfect stroke won’t matter if you’re aimed incorrectly. Alignment involves aiming both your body and the putter face correctly at the target.
a. Putter Face Alignment
The face angle is the single biggest factor influencing the ball’s starting direction — accounting for up to 90% of your accuracy. Always:
Square the putter face to your intended line (not the hole, but the break line).
Use alignment aids on your putter or a spot just in front of the ball to guide your aim.
b. Body Alignment
Your feet, knees, hips, and shoulders should all be parallel to the target line.
Avoid aiming your body right or left subconsciously; use intermediate targets for guidance.
Pro Tip: Practice aligning your putter and body using a chalk line or alignment sticks. Consistent alignment breeds confident strokes.
4. The Stroke Mechanics
A stroke occurs when there is interruption of the blood supply to a particular area of the brain, ultimately leading to cell injury and cell death. Strokes can be classified as either: ischemic or hemorrhagic.
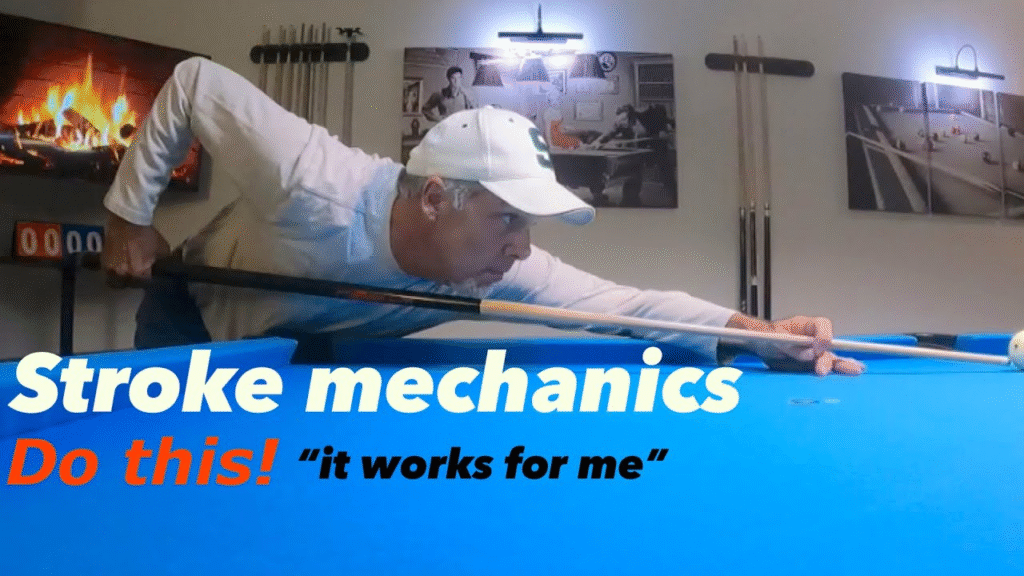
The putting stroke should feel simple, pendulum-like, and rhythmic — driven by the shoulders, not the wrists or hands.
a. The Pendulum Motion
Imagine your arms and putter forming a triangle that swings back and forth in unison, powered by the rocking motion of your shoulders.
Backstroke and Forward Stroke: Equal in length for short putts; slightly longer on the backstroke for longer putts.
Minimal Wrist Action: Keeps the face square through impact.
Tempo: Smooth and unhurried — a consistent rhythm builds control.
b. Stroke Path
There are generally two putting paths:
Straight Back and Through:
Ideal for short, straight putts. The putter moves directly along the target line.
Slight Arc Stroke:
The putter travels slightly inside the line on the backstroke and returns to square at impact. This is natural for most players with toe-hang putters.
c. Impact and Roll
Strike the ball slightly on the upswing to achieve true roll.
Avoid hitting down on the ball, which creates backspin.
Focus on a smooth acceleration through impact — never decelerate.
5. Distance Control and Feel
Perfect aim is meaningless without proper distance control. The secret lies in touch, tempo, and practice.
a. Length of Stroke
The length of your backstroke determines the power.
Longer putts require a longer stroke, not a faster one.
b. Tempo and Rhythm
Maintain a consistent tempo regardless of distance.
Use a mental count like “1-2” — backstroke on “1”, impact on “2”.
c. Practicing Distance Control
Ladder Drill: Putt to targets placed at increasing distances (10, 20, 30 feet).
Towel Drill: Place a towel a few feet behind the hole — try to stop the ball just before it.
d. Developing Feel
Spend time on the practice green without looking at the hole. This trains your body to rely on instinct and muscle memory — essential for developing natural touch.
6. Reading Greens Like a Pro
Pros break the putt down into sections, focusing on each tier separately. They visualise the ball’s path over each tier and adjust their aim and speed accordingly. What should I do if I’m unsure about the read? Trust your instincts and your practice. Often, your first impression is the most accurate.

Reading greens is an art that combines observation, experience, and intuition. Every slope, grain, and speed variation affects your line and pace.
a. Start from the Hole
Always read the green from the hole backward to your ball. This helps visualize how the putt will break as it loses speed.
b. Observe the Slope
Look at the general terrain around the green (water flow direction, high points, low points).
Kneel down to view the slope from behind your ball and the hole.
c. Grain and Grass Type
On Bermuda grass, putts with the grain roll faster; against the grain roll slower.
Grain often grows toward the setting sun or toward water bodies.
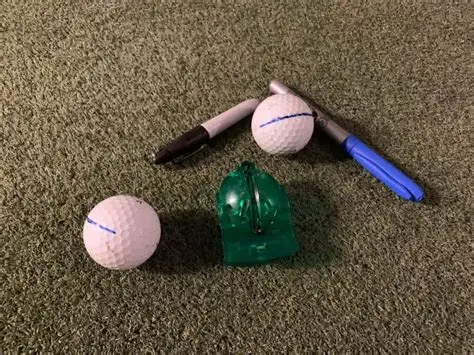
d. Visualize the Line
Imagine a “curve” the ball will follow, not a straight line. Then pick a spot a few inches in front of your ball where you want to start your putt.
e. Practice Routine
Before every putt:
Read from behind the ball.
Walk the line for feel.
Confirm your aim and commit to it.
7. Short Putts vs. Long Putts
In conclusion, the choice between a long putter and a short putter for better control in golf ultimately comes down to personal preference. The long putter provides added stability and reduces hand and wrist movements, while the short putter offers a more natural and versatile stroke.
Short Putts (Inside 6 Feet):
Focus on aim and start line — the stroke should be compact and controlled.
Keep your head still until after impact.
Practice with a gate drill (two tees slightly wider than your putter face).
Long Putts (20+ Feet):
Prioritize distance control over perfection.
Aim to leave yourself a tap-in — your goal is two-putting, not necessarily holing out.
Use a smooth tempo and avoid tension.
8. Common Putting Mistakes (and How to Fix Them)
Too Much Wrist Action:
Causes inconsistency and face rotation.
Fix: Focus on shoulder-driven motion; practice with a putting triangle.
Decelerating Through Impact:
Leads to poor distance control.
Fix: Keep your tempo steady and accelerate gently past the ball.
Poor Alignment:
Fix: Use alignment aids or draw a line on your ball for consistent setup.
Gripping Too Tightly:
Fix: Maintain light grip pressure — imagine holding a tube of toothpaste without squeezing.
Lifting Head Early:
Fix: Keep eyes down and listen for the ball to drop instead of watching it.
9. Practice Drills to Improve Putting
a. The Circle Drill
Place tees or balls in a 3-foot circle around the hole.
Make all 10 putts consecutively to build confidence under pressure.
b. The Clock Drill
Set up 6 balls around the hole like clock numbers.
Putt each one — this improves your feel from all angles and slopes.
c. Distance Ladder Drill
Place markers at 10, 20, 30, 40 feet.
Try to roll the ball just past each marker, building distance control.
d. The Gate Drill
Set two tees slightly wider than your putter’s width.
Practice putting through the gate without touching tees.
e. One-Handed Practice
Putt with only your trail hand (right for right-handers) to develop feel.
Then with your lead hand for control and stability.
10. The Mental Game of Putting
Putting is as much mental as physical. Even with perfect technique, anxiety and doubt can ruin your stroke.
Mental Techniques:
Commit to every putt: Once you’ve chosen your line, trust it completely.
Focus on process, not results: Think about your routine, not whether it goes in.
Stay relaxed: Deep breaths and slow exhalation help reduce tension.
Visualize success: Picture the ball rolling smoothly into the hole.
Routine is Everything:
Develop a pre-putt routine you follow every time — it builds confidence and consistency under pressure.
11. Putting technique Equipment Matters: Choosing the Right Putter
Your putter is your most used club. The right one complements your stroke style and feel preferences.
Types of Putters:
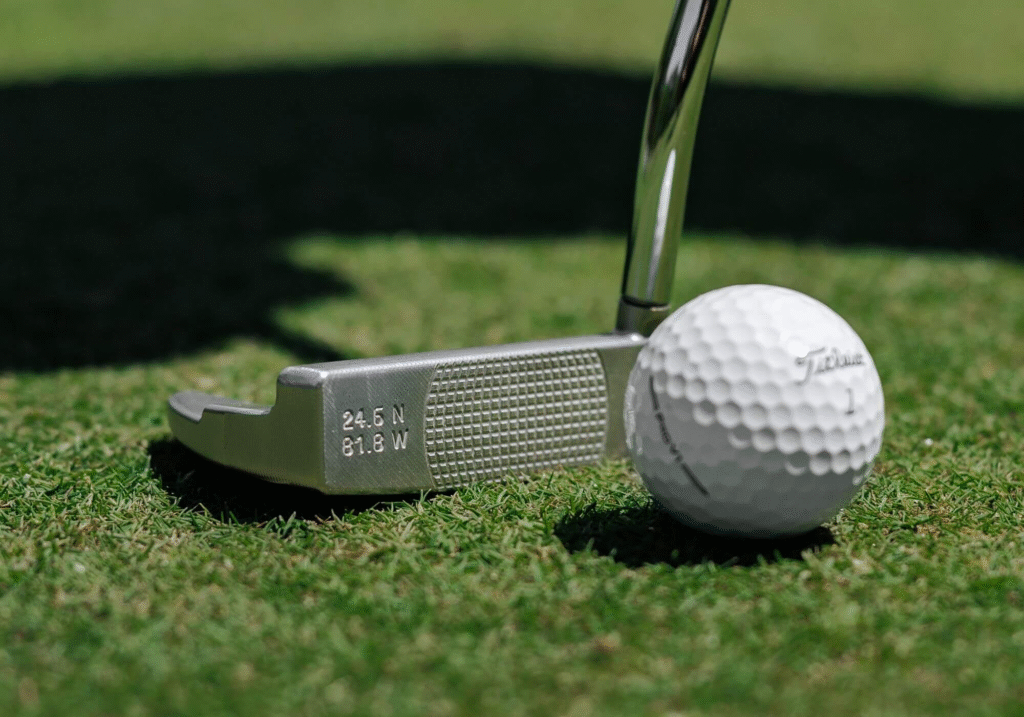
Blade Putters:
Classic design with a thin face.
Best for players with an arc stroke.
Mallet Putters:
Mallet putters are golf clubs designed for enhanced stability, forgiveness, and alignment during putting. Their larger, often rounded or uniquely shaped heads help golfers achieve more consistent strokes and better aim.
These putters stand out due to their distinctive clubhead design, which is typically more massive than traditional blade putters. This added size allows for a larger sweet spot, making them more forgiving on off-center hits. Many mallet putters also feature advanced alignment aids—such as lines, dots, or contrasting shapes—that help players line up their putts more accurately.
Because of these benefits, mallet putters are popular among golfers of all skill levels, especially those seeking more confidence and control on the greens.
Larger head and higher moment of inertia (MOI).
More forgiving; great for straight-back-and-through strokes.
Face-Balanced vs. Toe-Hang:
Face-balanced: Stays flat when balanced — best for straight strokes.
Toe-hang: The toe points downward — suits arc strokes.
Putter Length and Loft:
Standard length: 33–35 inches.
Loft: Usually 3–4 degrees to lift the ball gently off the surface.
Tip: Get professionally fitted if possible — a fitted putter can transform your performance.
12. Advanced Putting technique Tips from the Pros
Use Your Shoulders as the Engine: Like a pendulum clock, your shoulders control the rhythm.
Quiet Eyes: Keep your gaze still; excessive eye movement affects stroke stability.
Practice Under Pressure: Simulate match conditions — create “must-make” drills.
Focus on Speed Control First: Pros know that the right pace makes the hole effectively larger.
Track Stats: Monitor your putts per round, make percentage inside 6 feet, and three-putt frequency.
13. Building a Consistent Putting technique Routine
Puting technique of a great putting routine is simple, repeatable, and calming.
putting technique Example Routine:
Read the green from both sides.
Visualize the path and speed.
Align your putter and body.
Take two practice strokes to feel the distance.
Step in, breathe out, and stroke the putt confidently.
Consistency creates familiarity — familiarity creates confidence.
14. How to Practice Putting technique Effectively
Quality over Quantity: 30 focused minutes beats 2 hours of random putting.
Split Practice: 50% short putts, 30% mid-range, 20% long putts.
Practice Pressure: Challenge yourself to make 10 in a row or restart if you miss.
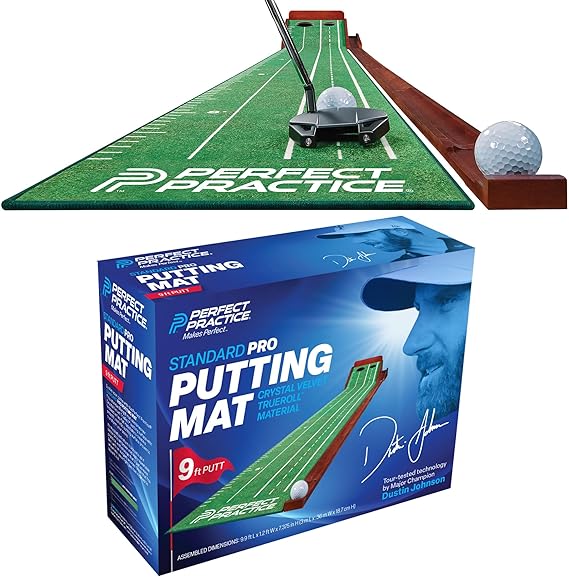
Simulate Real Greens: Use indoor putting mats or home putting greens for daily drills.
15. Conclusion: Turning putting technique into Confidence
Mastering the putting technique takes time, patience, and practice — but the payoff is enormous. Every element — from your grip and stance to tempo, green reading, and mindset — plays a role in becoming a great putter.
Remember, putting is not about perfection. It’s about consistency, confidence, and calmness. When your mechanics are solid and your mind is focused, you’ll approach every green with belief rather than fear.
At Golffiver.com, we believe the path to becoming a great golfer starts with puting technique mastering the fundamentals — and putting is the heart of it all. Work on your stroke daily, trust your process, and soon you’ll be sinking more putts, lowering your scores, and truly enjoying the game of golf.
MAS